Github Pages博客搭建教程
Github Pages博客搭建教程
Github Pages+ Hexo 搭建个人博客
一、下载 Git
git是一个包管理工具,在linux是自带的,windows上需要下载。
参考:https://www.cnblogs.com/xueweisuoyong/p/11914045.html
二、下载 Node.js & npm
下载参考:https://blog.csdn.net/weixin_38610651/article/details/108721957

Node.js 默认配置了 npm,因此不需要额外下载,可以根据需要配置 npm下载路径。
三、安装 Hexo
执行命令
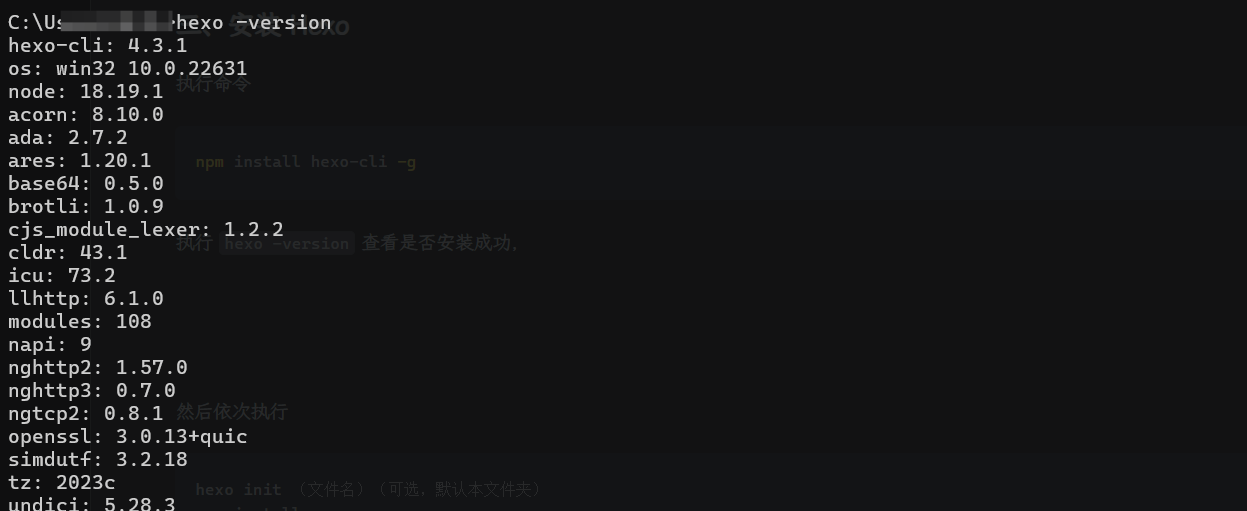
npm install hexo-cli -g执行 hexo -version 查看是否安装成功,

四、本地预览
新建一个用于存储博客数据的目录(如 D:\hexo-blog)并确保该目录为空,随后在终端中执行,
hexo init (文件名)(可选,默认本文件夹)等待一段时间,即可成功初始化。此时可使用

hexo s -g 本地预览初始化成功的博客
g是部署,s是本地启动本地预览效果如下:

五、部署到 Github 上
详细看参考:https://blog.csdn.net/yaorongke/article/details/119089190
访问地址效果:

六、主题配置
这里选择下载主题 butterfly,

跟多主题详细配置参考:butterfly主题配置
主题魔改参考:butterfly主题魔改
Github Pages+ Hugo 搭建个人博客
参考:https://www.shaohanyun.top/posts/env/blog_build2/
参考:https://github.com/lazeroffmichael/example-hugo-blog
参考:https://lianpf.github.io/posts/other/tools-docs-hugo-papermod/
一、主题配置
把之前的 gaorenyusi.github.io 仓库清空,然后下载 hugo,执行下面命令生成网站主文件
hugo new site blog
hugo new site blog --format yaml
然后下载主题(这里用的是LoveIt主题,但还是可以参考上面链接)
cd blog
git clone https://github.com/dillonzq/LoveIt.git themes/LoveIt
可以把 exampleSite 目录中的配置文件 hugo.toml 复制到主文件,然后根据需要修改 hugo.toml
我的配置文件: hugo.toml.
最后执行下面命令进行本地预览
hugo server -D-D 是生成 public 目录,然后访问地址 http://localhost:1313 进行本地访问,
更多主题配置: LoveIt主题配置
二、部署到 github pages
在 public 目录下执行下面命令即可,
git init
git add .
git commit -m "first commit"
git branch -M main
git remote add origin 仓库地址
git push -u origin main -f
三、Action 自动提交博客
Github Action 是 Github 提供的 CI 系统,可以让用户编写脚本,并在触发指定的操作后(比如新 commit push 到仓库),自动触发脚本。它可以:
- 编译项目
- 测试项目
- 登陆远程服务器
- 发布服务
- 等等……